Jupyter에서 Scala 실행하기 (Ubuntu 기준)
게시일 : 2019년 02월 02일
# Ubuntu
# Jupyter
# Scala
# almond
Jupyter에서 almond를 활용해 scala 커널을 설치하고 실행하는 법을 알아본다.
almond
almond는 jupyter-scala라고 불리는 jupyter를 위한 scala 커널이다.
설치 준비
1. JDK8 설치
java는 open JDK나 oracle JDK로 설치한다.
# Ubuntu 18.04 기준
# open JDK
sudo apt install openjdk-8-jdk
# oracle jdk 8
sudo add-apt-repository ppa:webupd8team/java
sudo apt install oracle-java8-installer
2. sbt와 coursier 설치
# sbt 설치
echo "deb https://dl.bintray.com/sbt/debian /" | sudo tee -a /etc/apt/sources.list.d/sbt.list
sudo apt-key adv --keyserver hkp://keyserver.ubuntu.com:80 \
--recv 2EE0EA64E40A89B84B2DF73499E82A75642AC823
sudo apt-get update
sudo apt-get install sbt
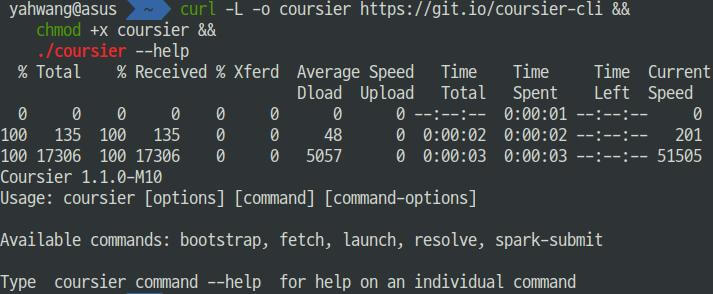
# coursier 설치 ( coursier라는 실행가능한 파일이 생성된다. )
curl -L -o coursier https://git.io/coursier-cli &&
chmod +x coursier && ./coursier --help
3. almond 설치 및 세팅
git clone https://github.com/almond-sh/almond.git
cd almond
# scala를 local에 설치
sbt publishLocal

중요한 부분
sbt publishLocal을 실행하면 마지막 라인에 설치된 버전을 확인해준다. 이 버전을 기억해서 SHELL에 입력해주어야 한다. 버전이 맞지 않을 경우, jupyter에서 scala 실행 시 에러가 발생한다.
# scala와 almond 버전 설정
SCALA_VERSION=2.12.8 ALMOND_VERSION=0.2.3-SNAPSHOT
# almond-snapshot 이름을 가진 scala launcher 생성
./coursier bootstrap \ -r jitpack \
    -i user -I user:sh.almond:scala-kernel-api_$SCALA_VERSION:$ALMOND_VERSION \
    sh.almond:scala-kernel_$SCALA_VERSION:$ALMOND_VERSION \
    --sources --default=true \
    -o almond-snapshot --embed-files=false
# scala launcher로 scala kernel 생성
./almond-snapshot --install \ --id scala-snapshot \
    --display-name "Scala (2.12.8)"

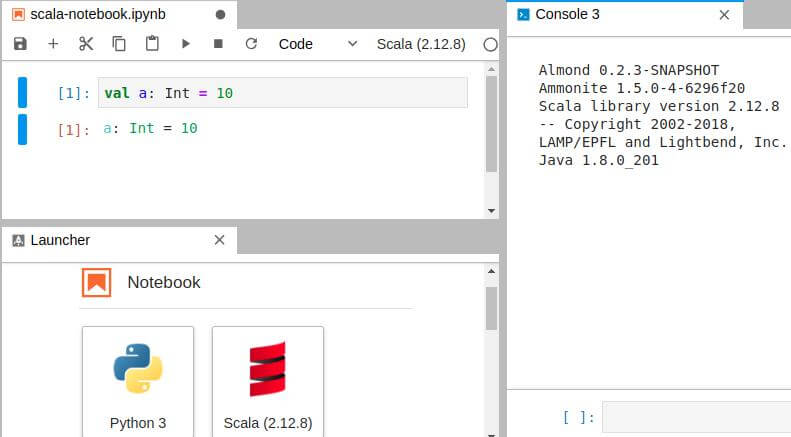
jupyter에 커널이 잘 설치되었고 jupyter lab에서 문제없이 잘 실행된다.

References :